a home photo studio
... When the weather's got you down
I spend many happy hours in a simple DIY home photo studio. It takes a couple of minutes to set it up and get going and it's dry and warm.
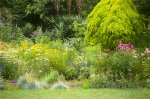
This winter's been awful for photography here on the Island. So far, spring isn't much better. I can't seem to make it stop raining! Yuck. Bringing a piece of the garden indoors isn't impossible and here's how you can make that happen.
So, last weekend, I stopped at Thrifty's and headed straight for the Garden Centre....to the cut flowers. A couple of tulip bundles and some sunny daffodils. Then home to set up my DIY studio.
Some of my best photography's been cooked up in a simple home photo studio in my kitchen and if you want to try out some of my ideas, I'm here to share. Not a lot of money involved and most of the time, window light is all you'll need as a light source.
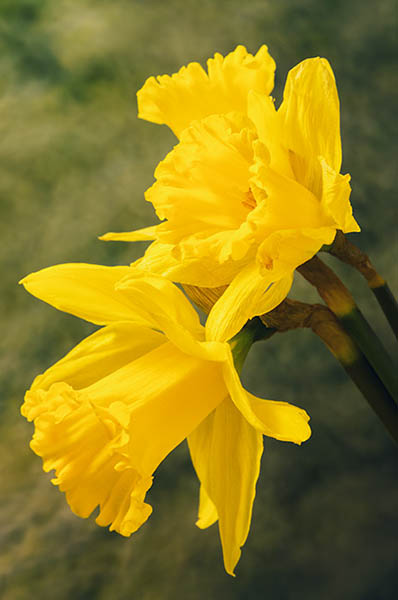
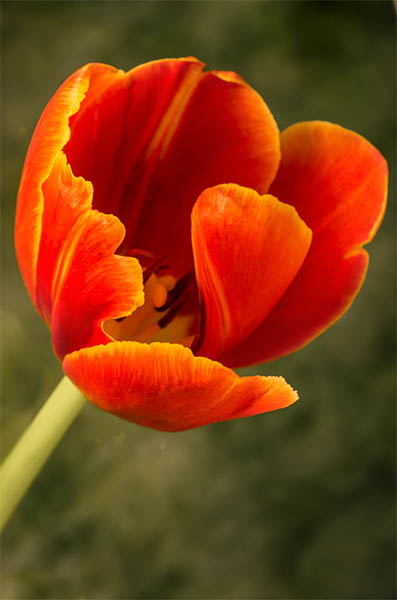
Here are 2 of the images I like best from over a hundred files ...
I'm sharing all the secrets to my process!
You also might want to read up on following a sequence of steps with every photo you take. You'll be much more consistent and successful in your photography.
THE BASICS:
Choose a lens that lets you get close up shots. I have a Nikon 105 mm macro lens and my amazing Lensbaby Velvet 56. I use them exclusively with indoor photography now but I started out using a cheap lens that I could get very close with sharp focus.
A tripod is essential.
simple Home photo studio - equipment:
1. backgrounds
I use the same files for both my home photo studio and in Photoshop editing. Here's how you can use them in your studio.
- 15 prints of backgrounds mounted on white foam core. Mine are either square 12x12 inches or rectangular 12x18 inches.
- I purchased digital files from French Kiss Textures and Kathleen Clemons Photography... the texture store is on her blog.
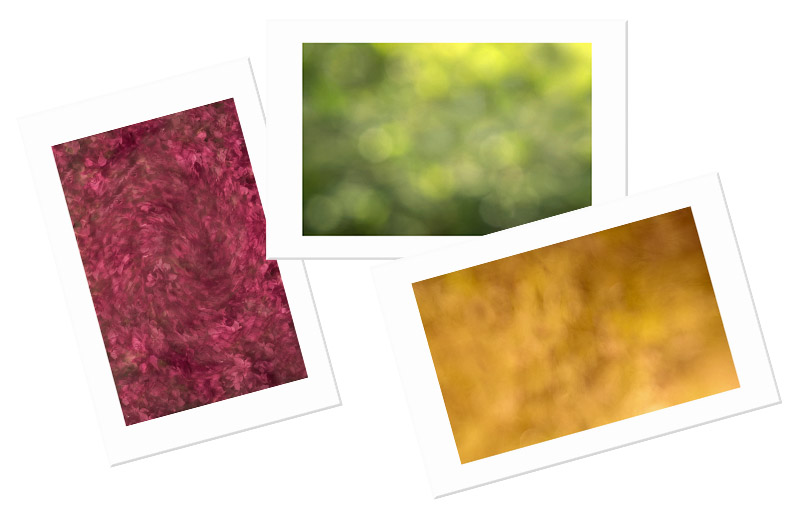
- When they're mounted, I make sure there are a couple of inches of white border so that the clamp doesn't damage the background image. Here are a few of the images but you only need 1 or 2 to start... get freebies from French Kiss or google "free textures". I want textures that give the impression of background foliage or gardens.
2. the plamp ii (by wimberly)
An important piece of equipment for your makeshift home photo studio... a couple if you can afford them. Mine were $65 Canadian each. Attach the clamp to your tripod to gently move unwanted branches or flowers out of the way. Not just for indoors, make sure to take it with you when you photograph outdoors.

- Secure the Plamp to something solid... I used the edge of a kitchen cupboard door above the counter, beside the window. Clamp one background to the Plamp. (You can see the clamp at the top of the foam core in the two images just below.
- Put a flower into a glass or a vase in front of the background.
- Set up your tripod and attach your camera. Look through the viewfinder and make sure the flower isn't so close to the background that it casts a shadow. And, check that you or your camera aren't casting a shadow on your image.
|
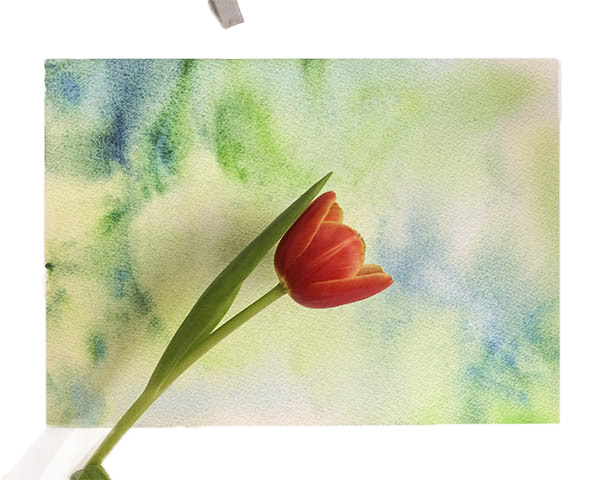
The flower is too close so there's a shadow. Move the flower farther away from the foam core. You might also want to move the background around... the Plamp is very flexible. | |
|
The flower is far enough away from the foam core and there's no shadow. Look through your viewfinder and experiment with how far or how close you are away from your subject. Make sure the background image completely fills your viewfinder. Don't let your kitchen sink or dirty dishes sneak into your photo! |

|
4. |
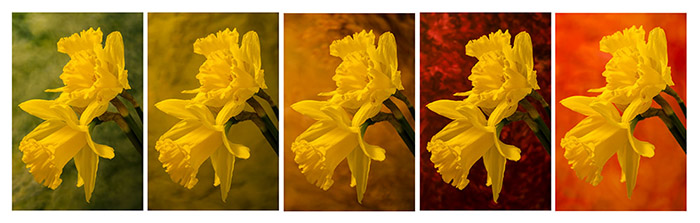
Take your time, your subject isn't going anywhere when it's in a home photo studio! Try out different angles, move the background around and even change backgrounds. You'll be amazed at how different a flower can look with a different background pattern or colour. The light bouncing off the background will reflect onto the flower and you'll see subtle differences in your images. Here are 5 different backgrounds I used for my 3 daffodils. I prefer the green and the darker gold. |
|
5. |
Keep checking your exposure and your histogram so you get it right on. Everything's stable and you can leave it all set up without moving your camera and your subject. Look at my 5 photos... the flowers didn't move at all while I changed the backgrounds. This is the time to try out different apertures. You might like an image with only the edge of one or two petals in sharp focus and the rest blurred. Experiment with all kinds of creative exposures. |
3. reflectors
If I want to use a reflector and bounce light into the flower, then I give the timer 20 seconds to give me time to pick up the reflector and adjust it. My Neewer reflector is inexpensive and versatile. It has 5 variations and I use the silver, white and gold (to warm the image). I have two other smaller reflectors, great for smaller subjects like flowers.
 |
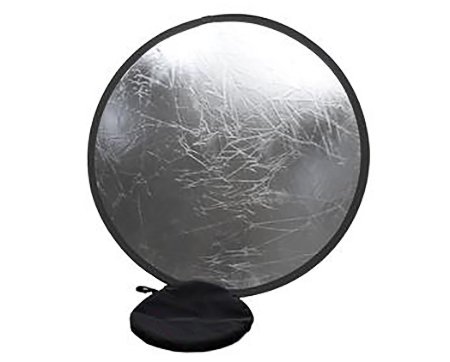 Neewer reflector 43 inches across. My largest reflector. Neewer reflector 43 inches across. My largest reflector. |
In at least half my flower photos, I use 1and often 2 reflectors together. I need to figure out and practice where I need to hold the reflectors. How do I do all this at the same time? ...
tip for getting your focus tack sharp
Keep your camera stable on a tripod. Even your finger clicking the shutter can cause your camera to shake... the closer your camera is to your subject, the more it will blur the image. So what can you do in your home photo studio to make sure your image is a sharp as you want?
Here's my fix... use your timer or a remote. I give my timer 10 seconds and that lets everything settle after I push the shutter. I stand back and take my hands off the camera. If I'm using reflectors, I make the delay longer.
Coordinating backgrounds with images
Two more examples showing how the backgrounds you choose can complement the flower. So much better than bland white and so easy to do in a home photo studio.
Start collecting a few backgrounds, print and mount them and experiment. I have my favourites and you'll find yours. Don't start out with lots because you'll just get overwhelmed. Three or four works, with only a few different coloured flowers.
|
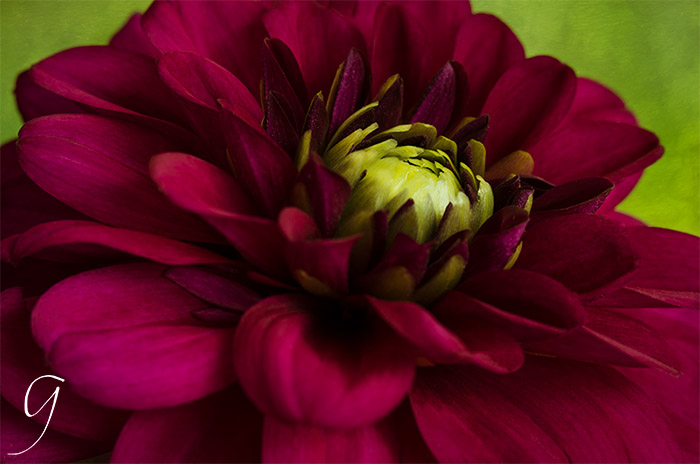
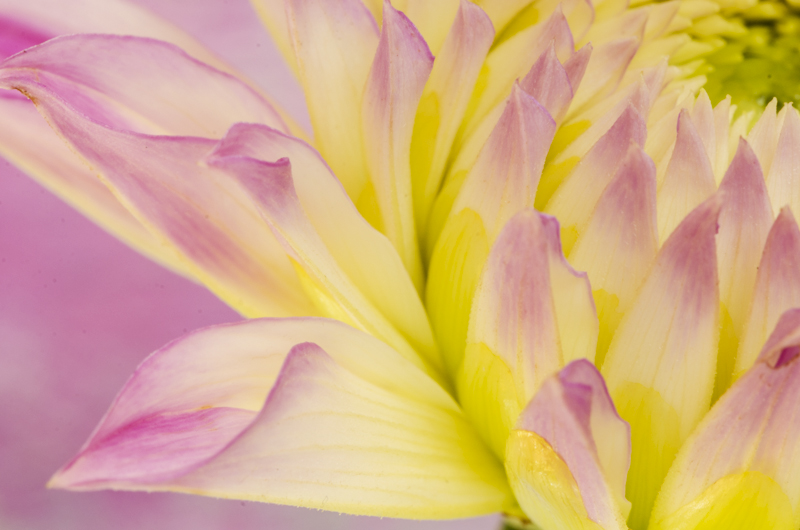
This dahlia is one of my favourite images... not just mine, so many other people think it's gorgeous. That green is amazing with the dark magenta. In my mind, there was absolutely no other choice here! | |
|
I wanted to use one of the colours in the flower for a background and my choice was violet. Yellow was a possibility but it was too vibrant a yellow for my taste. Another person might absolutely love it. |
more ideas for backgrounds
If you want to start right now and you don't have any printed backgrounds, try other materials.
- an interesting wall
- a scarf
- shirts
- tea towel
- different colors of matte board (not shiny)
- an interesting old board
- textiles
- use your imagination for countless more
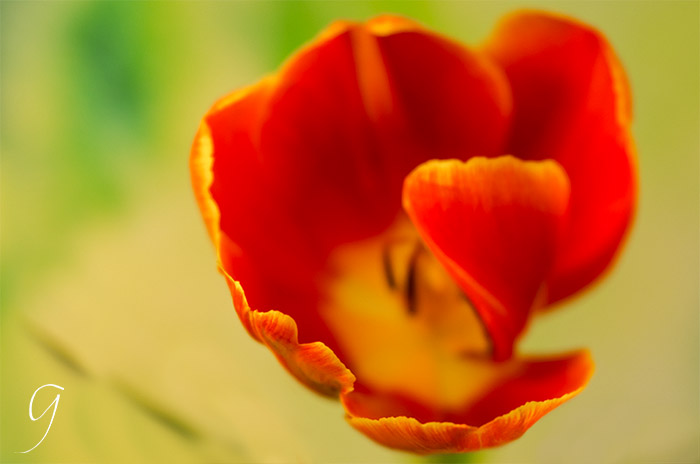
|
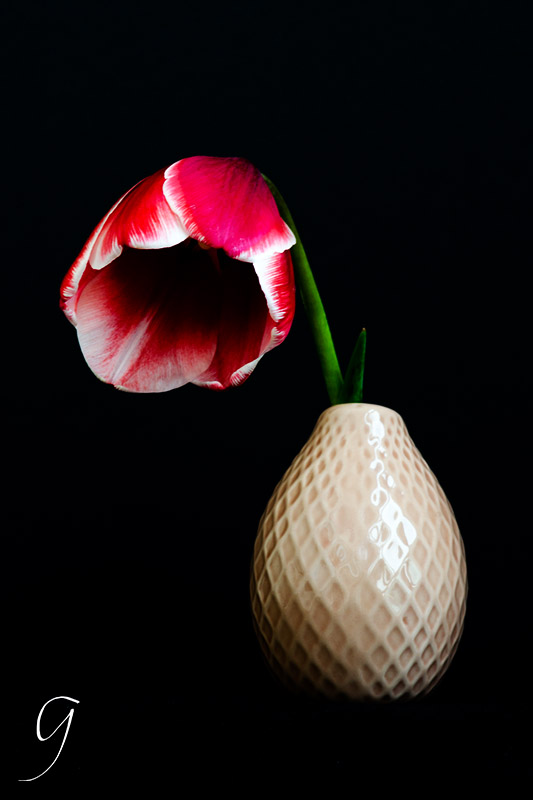
This is heavy black cotton draped over a kitchen chair. The chair is in front of the window. Easy, right? I got some gorgeous large silk scarves in Thailand that give a soft, glowing effect. Don't let a harsh, bright sun shine directly on a shiny fabric. The light is from the side-front. Side light enhances the texture in the tulip and the vase. Strong side light or back light can give you lovely translucent petals. Be extra careful careful about your exposure. |
control your exposure
Your light meter wants to bring black towards white and you'll get an awful grey background if you don't manually control your exposure.
If you're using auto... here's help moving up to the semi-auto digital camera modes. They give you so much more control and creativity.
I'm sure you'll have lots more ideas. Forget
the expensive studio lights, unless that's your thing! I've done
wonders with very little and you can, too.

Flower Photography Home › Home Photo Studio
SUBSCRIBE & STAY IN TOUCH
Recent Articles
-
These Heron Images Make Stunning Fine Art Prints Or Note Cards
Jan 29, 19 06:49 PM
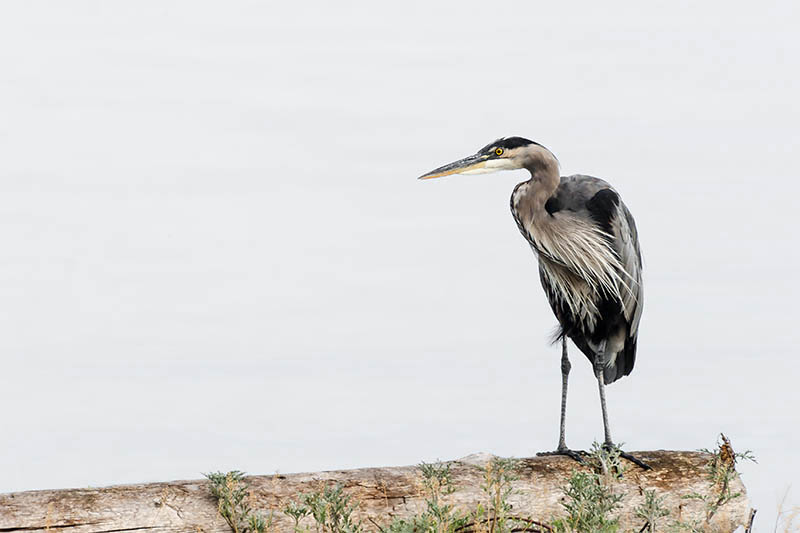 I love my heron images from here on Vancouver Island. One particular pair of herons are always obliging models. They're relaxed and trusting while I photograph and talk to them.
 -
Your Histogram Makes Correct Exposure a Breeze
Jan 22, 19 05:23 PM
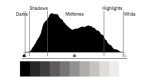 A histogram is easy to read with a bit of practice. An effective tool to help you get the picture you imagine.
 -
Yeomiji Outdoor Gardens, Asia To Europe Without The Jet Lag
Jan 22, 19 04:33 PM
 Yeomiji outdoor gardens delivers a French, Italian and Japanese garden along with several culturally significant Korean gardens.
New! Comments
Please leave me a comment in the box below.I'd love to hear your stories, share your photos and read your comments about this page.